


BlogFlutter is a free WordPress plugin that manages tweet scheduling for you, right from your blog. You assign tweets to your pages and posts, and BlogFlutter distributes them.
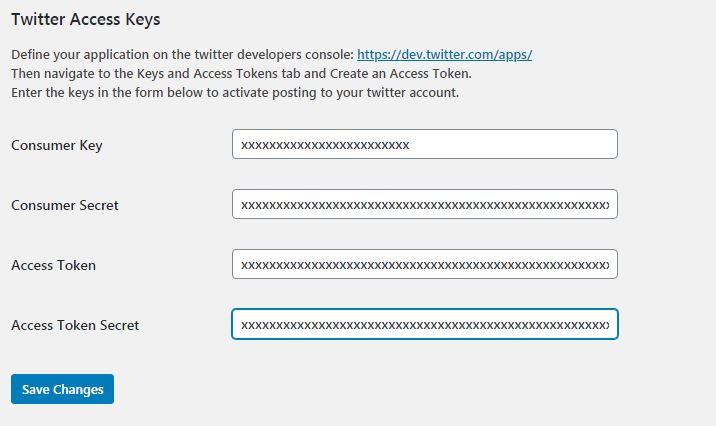
After you download the plugin (here), install, and activate it on your site, you will need to visit the settings page to set up the Twitter interface. There are four key codes you must enter here, in order to be able to send tweets. These codes are obtained from the twitter developer site.
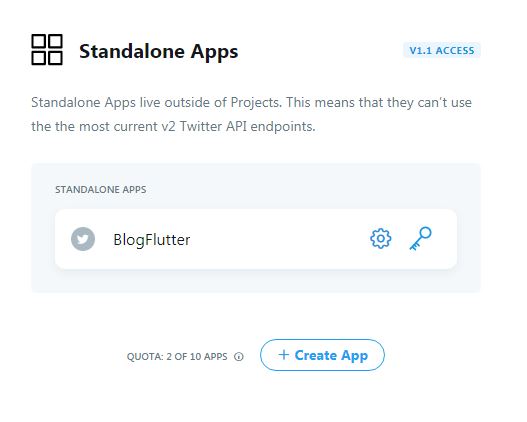
Follow the link to dev.twitter.com and sign in with your Twitter account. You may have to go through a brief application process for new access to a developer account. This will lead you through setting up a project. Then you will need to create an application to generate keys (AutoTweet blog). You can also set up a Standalone App, as shown below.
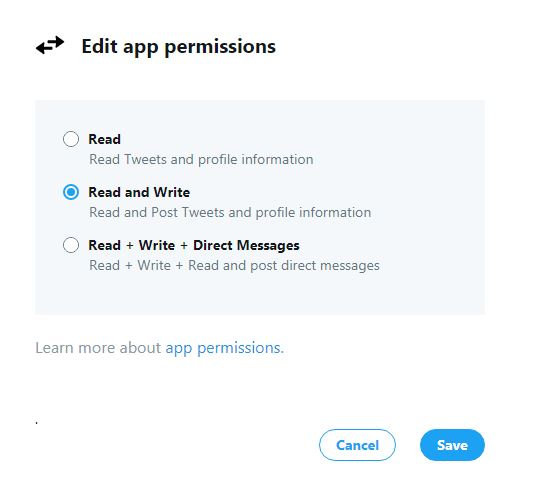
After you create an application, navigate to its settings page, and make sure it is Read/Write. Applications start as Read-only by default, and block BlogFlutter from sending your tweets.
The keys you need are stored at the application level. Click the key icon next to your application to get your keys.
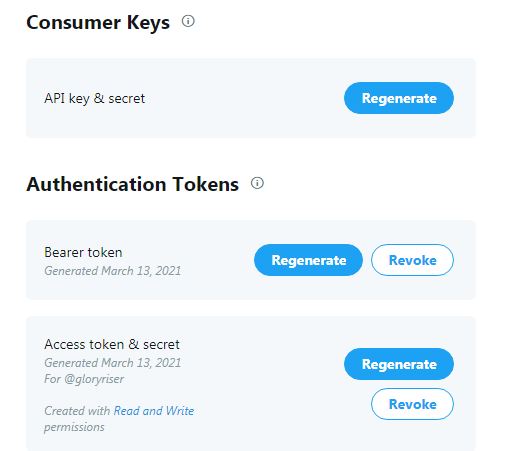
You will need the API key and secret, and an Access token with its secret, to enter in the BlogFlutter settings page and actively send tweets. Don’t bother with the Bearer token, you don’t need it.
Be careful you don’t click Regenerate by mistake, or you will lock out BlogFlutter until the keys are reassigned.
If you run into problems, start by generating new keys and entering them into BlogFlutter’s Settings page. Also, remember to set your App to Read and Write, or it cannot send tweets.
Generate new keys and install them any time you change the settings or suspect a breach on your site.